| This article is part of a collection for the walkthrough for Part Two. The previous article is Chapter 5. The next article is Chapter 7. |
The Orc Camp
After crashing through the bridge in the Isle of Prisoners, the Princess finds herself on the Planes and then after some times meets the old man, who proposes her to take part in a heist of statue from Delberg Castle in eschange for a lives of captive family members. During this final chapter the Princess in some sense returns to basics. She faces mostly orcs. Most of the time she has to act alone, rely only on her skills and employ stealth and wit.
| Spoiler: During transfer to Delberg County the Princess's equipment is permanently dispelled. You should consider transferring any items you wish to keep to another party member such as Pia or Rizzen. You may get a chance to retrieve it from them later. |
Notes
- During this chapter the Princess meets again with Hyath and Christano.
- Saving Christano costs a lot of XP, which is not returned.
Walkthrough[]
|

Planes[]
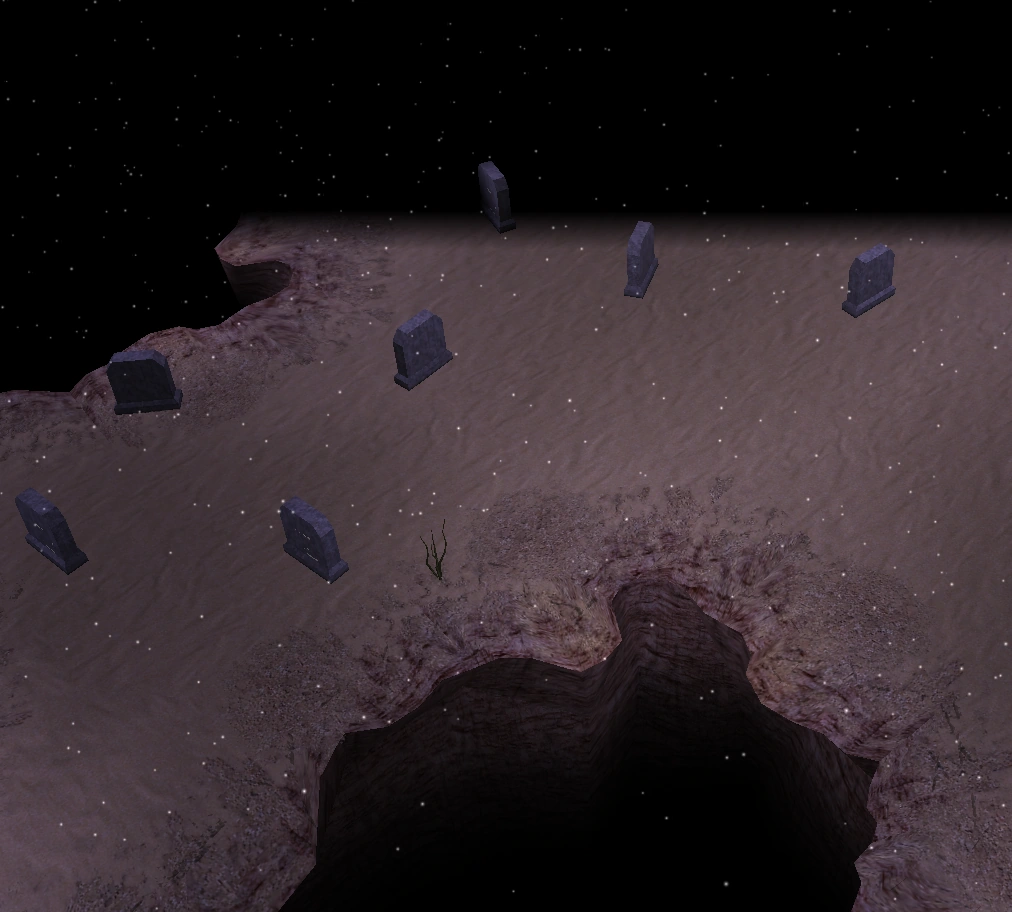
The Planes
After crashing through the bridge in the lower levels of the Isle of Prisoners, you'll find yourself on the Planes. The Planes is a desolate wasteland, a never ending sea of tombstones where each new area looks like the last. Needless to say, it's easy to get lost here, so don't go wandering off.
As you head out into the Planes, you'll get a few complaints from your party about the environment and find the body of a dead Dhorn soldier. Head south past the tombstones and onto the next area. Continue south through two more identical areas. On the third, you'll be exhausted and forced to rest. A nightmare sequence will play out and you'll be greeted by an old man the following morning. He tells you head east, past the rock to the right of your camp site. Speak with your party, then make your way east until you reach a larger area with a reddish hue. Continue east until you reach the stairs, then enter the Volcano.
Volcano[]


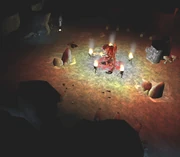
The old man in the Volcano
Once inside the Volcano, your party may voice some concerns about the situation. When the conversation is finished, speak to the old man. He'll raise Chella and offer to return the rest of the captive family members, if you agree to steal a statue from Delberg Castle. After the conversation, you'll be lead to the Planes outside of the Volcano.
| Important: If you're an equipment horde, now is the time to share the wealth with your companions as your equipment will be dispelled shortly. |
Beyond the Volcano[]
When you exit the Volcano, you'll be greeted by a Hell Hound. The old man explains that the hell hound will lead you to his servant, who will help you get to Delberg Castle. Follow the hound south, then south east. If you didn't have Vico in your party anymore after the events which took place in the Underdark, you may encounter him again at this point in the game, read below for more. The hound will lead you east through some caverns. Watch out for the Fiend and the Balrog, then continue until it stops. Take the stairs down, into the cave.
Vico's Vengeance[]
If you ever decided to kill Vico or even just go separate ways at any turning point in the game, you will find him again in the planes. Needless to say, he won't be too happy with you. It should be possible to come to a non-violent resolution by sneaking away, but he's done with you at this point and will not return to your party. Proceed as you wish.
Planes: Cave[]
Now that you've made it through the Planes beyond the Volcano, you're set to meet the old man's servant in the cave.
| Tip: Before heading through the arches, you may want to take a left and explore the eastern part of the cave. |
Head through the arches and speak with Boppi Bingel, who will lead the way. You may see another familiar face as you enter the adjoining room. A large fiend waits, who will be identified as Hyath, if you summoned him during the Golden Chalice quest in Part One. Hyath will give you some additional information on your mission. If Christano is with you, you can persuade Hyath to release him/her. When you're ready, Hyath will bring you to the Tomb of Noris the Gray.
Christano[]
A Succubus is being held prisoner in the eastern part of the cave. If you speak with her, you will eventually come to the realization that this is none other than Christano, the Paladin from the Golden Chalice quest in Part One. The encounter will trigger the And Justice For All journal entry. You can bring Christano along to speak with the old man's servant and plead for his/her release, or simply leave him to suffer.
If you managed to persuade Hyath to release Christano, he will follow you through the Tomb, into the Forest of Delberg County, up to the entrance to the Orc camp, stopping at various points to engage in conversation. Depending on your words and actions, you may receive points toward good or evil.
Delberg[]

Tomb of Noris the Gray
Tomb of Noris the Gray[]
After the old man's servant (Hyath) brings you to the Tomb of Noris the Gray, a scene will play out as if Hyath was summoned by Morias Datter. Hyath doesn't seem particularly pleased with Morias and kills him and his familiar. Once they're dead, speak with Hyath. You may have noticed your enchanted gear is no longer enchanted, which happened when Hyath dispelled the summoning circle. You can complain, but there's nothing to be done. Hyath will give you some last minute instructions and send you on your way.
You can rest on the nearby bedroll, then make your way out of the cave. Be wary of the small pockets of Orcs.
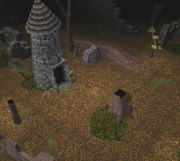
Delberg County, Forest[]
Now that you've made it out of the Tomb of Noris the Gray, you'll find yourself in the forest of Delberg County. The forest is a mostly open area with a few interesting structures, including a tower that can be explored. The deep forest is to the south west and the Orc Camp is to the north east.
If Christano is with you, you'll have a few conversations as you make your way through the forest. When you near the Orc camp to the north east, he'll go off on his own.
| Tip: There are a few things you may want to do before entering the Orc camp. The first is the tower in the north east quadrant. The second, and we're getting a bit ahead of ourselves, is to explore the deep forest. It's not essential, but it may save you some back tracking later. See the headings below for more information. |
When you're ready, enable stealth mode and head into the Orc camp.
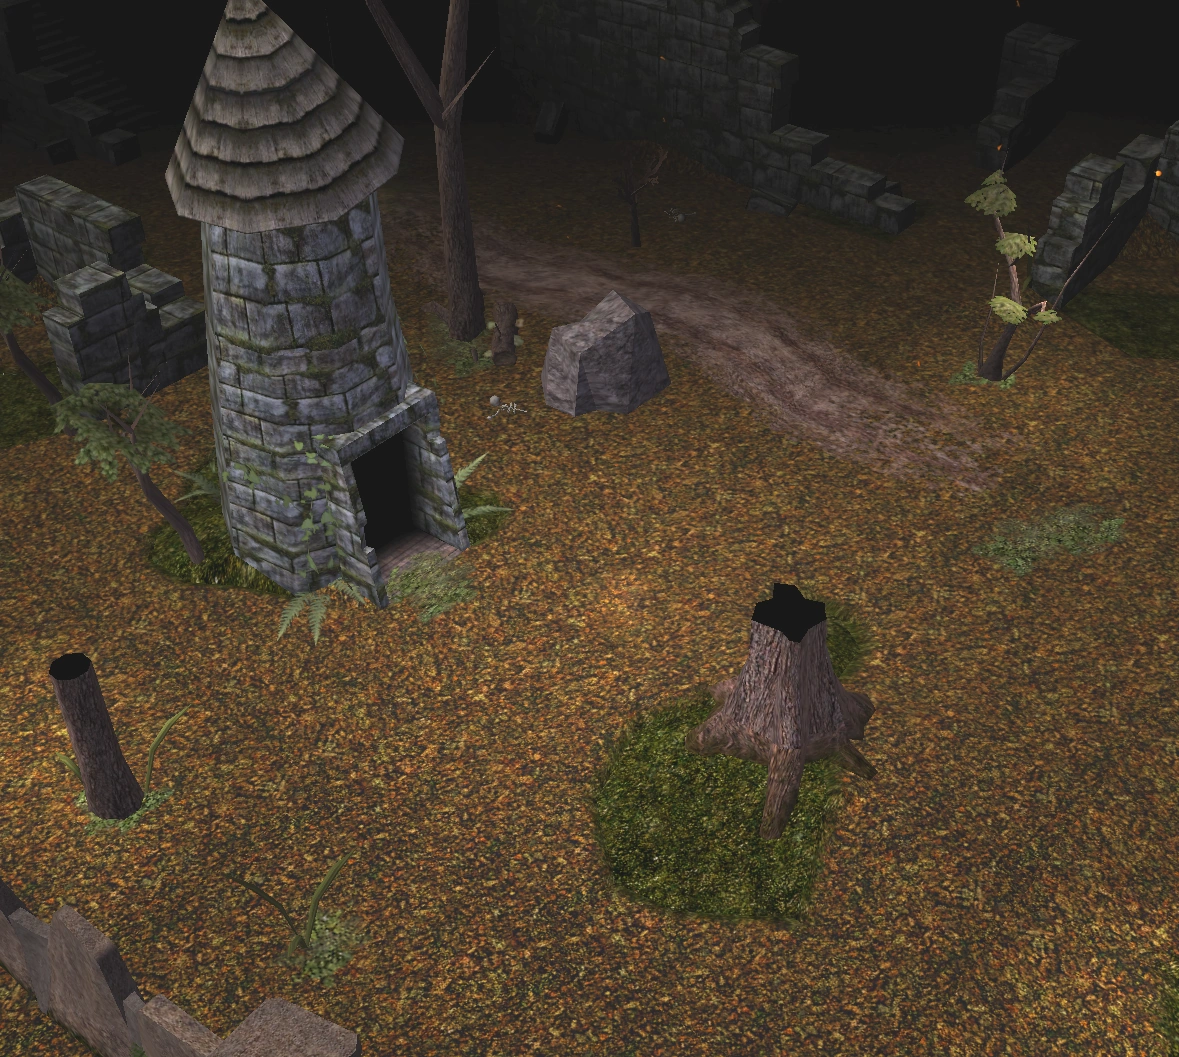
A ruined tower in the forest
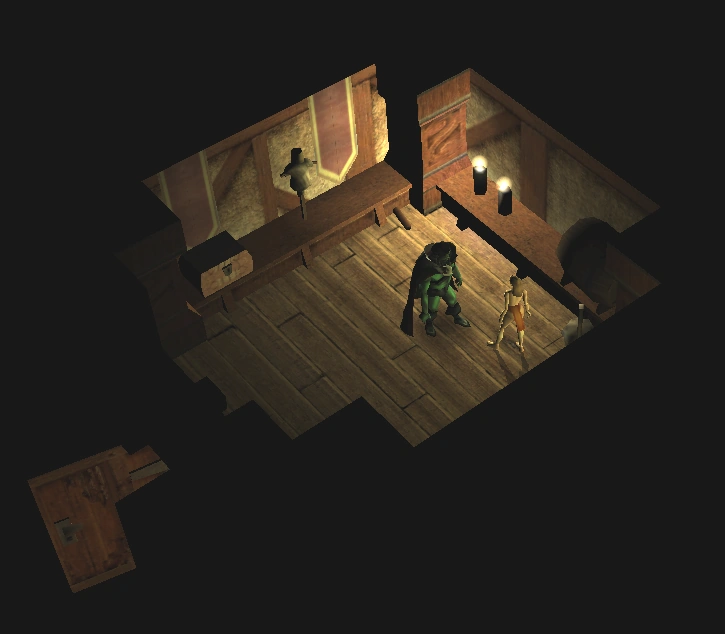
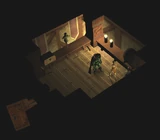
Delberg County, Ruined Tower[]
Enter the tower, unlock the upper level (ladder), then head upstairs. You'll find Cytan, Tieravalon Danu, and Marissa Tanner resting. Cytan will question you and mention they're looking for a friend who's recently gone missing. It appears they're describing Morias, Hyath's victim in the Tomb of Noris the Gray. You can tell them what you saw and how to get there.
Either way, they will help the Princess later, if she decides to return to Castle Delberg. It's her choice to trust them or not, afterwards.
You can rest, then head out.
Delberg County, Deep in the Forest[]
As you enter the deep forest, be on the lookout for a wolf pack and their leader. You can avoid a fight and watch the sequence play out as they move through the forest. Head to the south east corner of the map, where you'll find a a number of bones and the body of a dead woman. Enable stealth mode, take her tunic, then get the heck out of there unless you want to fight an adult Green Dragon.
| Tip: If you're able to kill the dragon, you'll be rewarded with 1000xp. You'll likely want a ranged weapon and will need to move quickly. Boots of Speed would be ideal, but unfortunately if you had a pair they would have been dispelled with the rest of your equipment. It's possible the dragon may become stuck behind a nearby rock or tree, giving you the opportunity to attack from a distance. If you're going to do battle with the dragon, a save before disturbing the body recommended. |
Now that you have the tunic, return to the forest of Delberg County and on to the Orc camp.
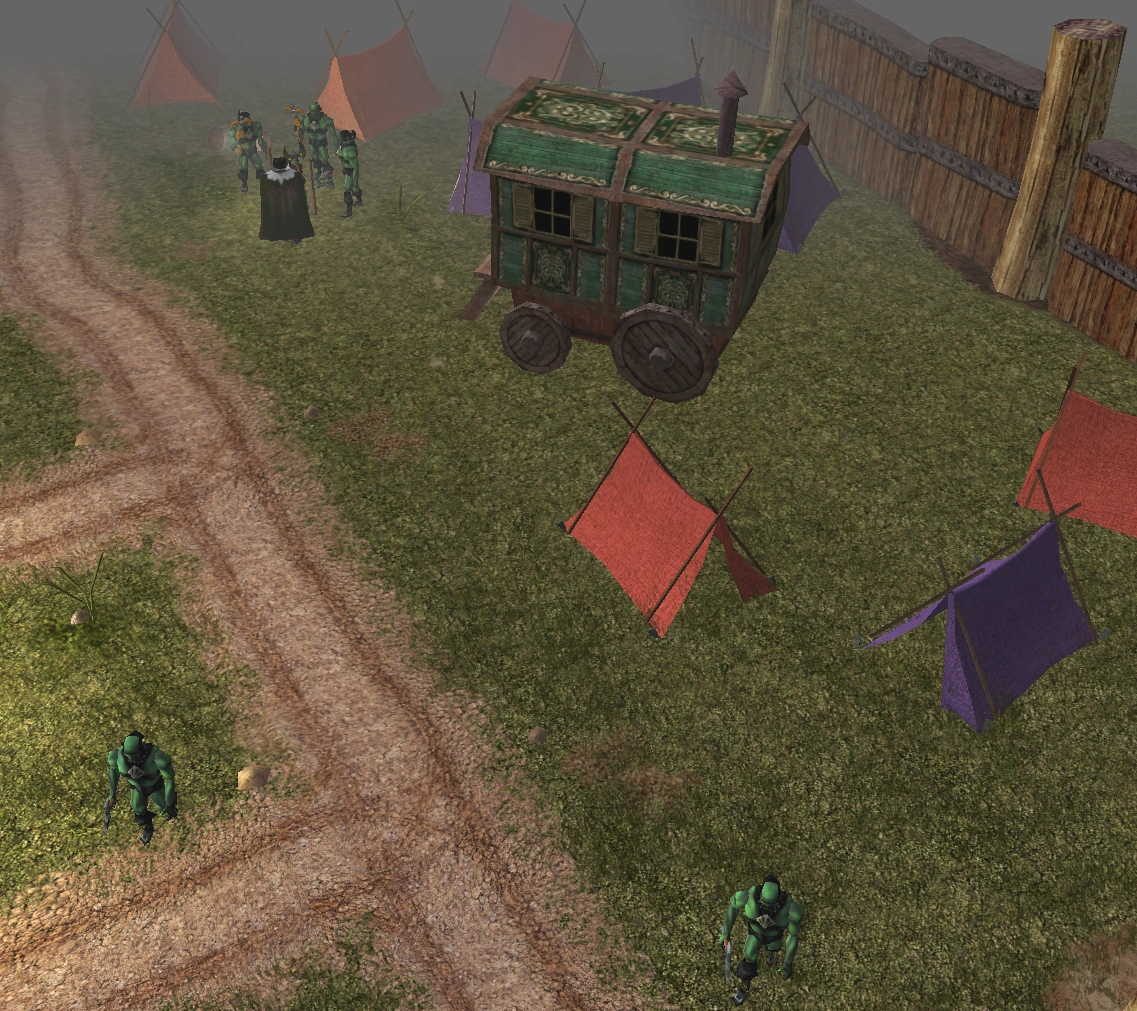
Delberg County, Orc Camp[]
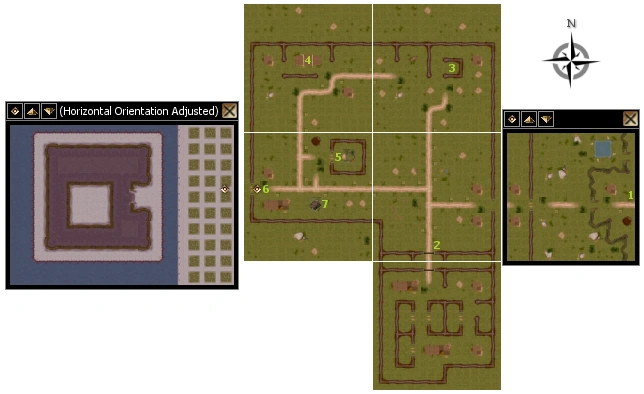
After making your way through the Delberg County forest into the Orc Camp, you'll find yourself facing a large number of hostile Orcs. Stealthily follow the path west until you reach an intersection, then head north. Ignore Hadush (#3) for now and follow the path west until you reach the Barracks (#4). Once inside the Barracks (otherwise known as the Slave Pen), you'll see a number of human slaves pleasuring Orcs. Look for a slave outfit on the floor, then pick it up and put it on. Once you've put away your weapons, the Orcs should no longer be hostile and you can disable stealth mode, for now. Take the red hair dye from one of the nearby containers, then exit the barracks. Head south, away from the barracks, until you reach the next area of the Orc camp. There are a few interesting points here. The first is a well guarded tent (#5), the second is the path to the Castle battlegrounds (#6), and the third is Bagor and his wagon (#7). You should become stealthy if you want to enter the tent or the battlegrounds, or avoid Bagor.
| Note: Before continuing any further, you have to make a decision as to how you're going to get into Delberg Castle, and there's a few ways in. If you don't mind being violated by Orcs, feel free to go with the second method described below. |
Delberg Castle entry, method one[]


The first method requires you disguise yourself as the red haired woman in the deep forest of Delberg County, who was to deliver the Orc's terms, but escaped the prison and died after being attacked by the Green Dragon. You'll need a number of items to succeed. The first is her tunic, which you may have picked up already. If not, return to the deep forest to get it. The second is the red hair dye from a container in the barracks. The third item are notes you take away from your visit to the tent. The fourth item is a Orc Speech Dictionary to make sense of the notes from the tent, which can be found on the body of a dead prisoner in the prison. Once you have of these items, you'll need to speak with one of the two living male prisoners. One has lost his mind and the other can be persuaded to help you with the disguise, if you agree to slay the orc who cut his leg. Once the disguise has been completed, you'll find yourself on the battlegrounds and being sent to deliver the Orcs terms of surrender to the castle.
Delberg Castle entry, method two[]
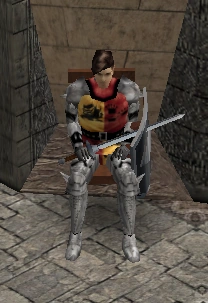
A slave in Bagor's wagon
The second is a bit less involved, a lot more dirty, and starts with the barracks (slave pen). As you may have noticed, the Orcs have numerous human slaves working for them. You may already have a slave outfit and put it on. If not, return to the slave pen and pick one up, disguising yourself as a slave. Once wearing the outfit and confirmed that the Orcs are no longer hostile, return to Bagor (#7). If the Orcs are still hostile, make sure your weapons have been put away. As you near Bagor, he should spot you and approach. Some brief questioning on your identity will follow and you must do your best to make it known that you're a slave. Play along and don't resist or show weakness, or you may end up in a fight you cannot win.
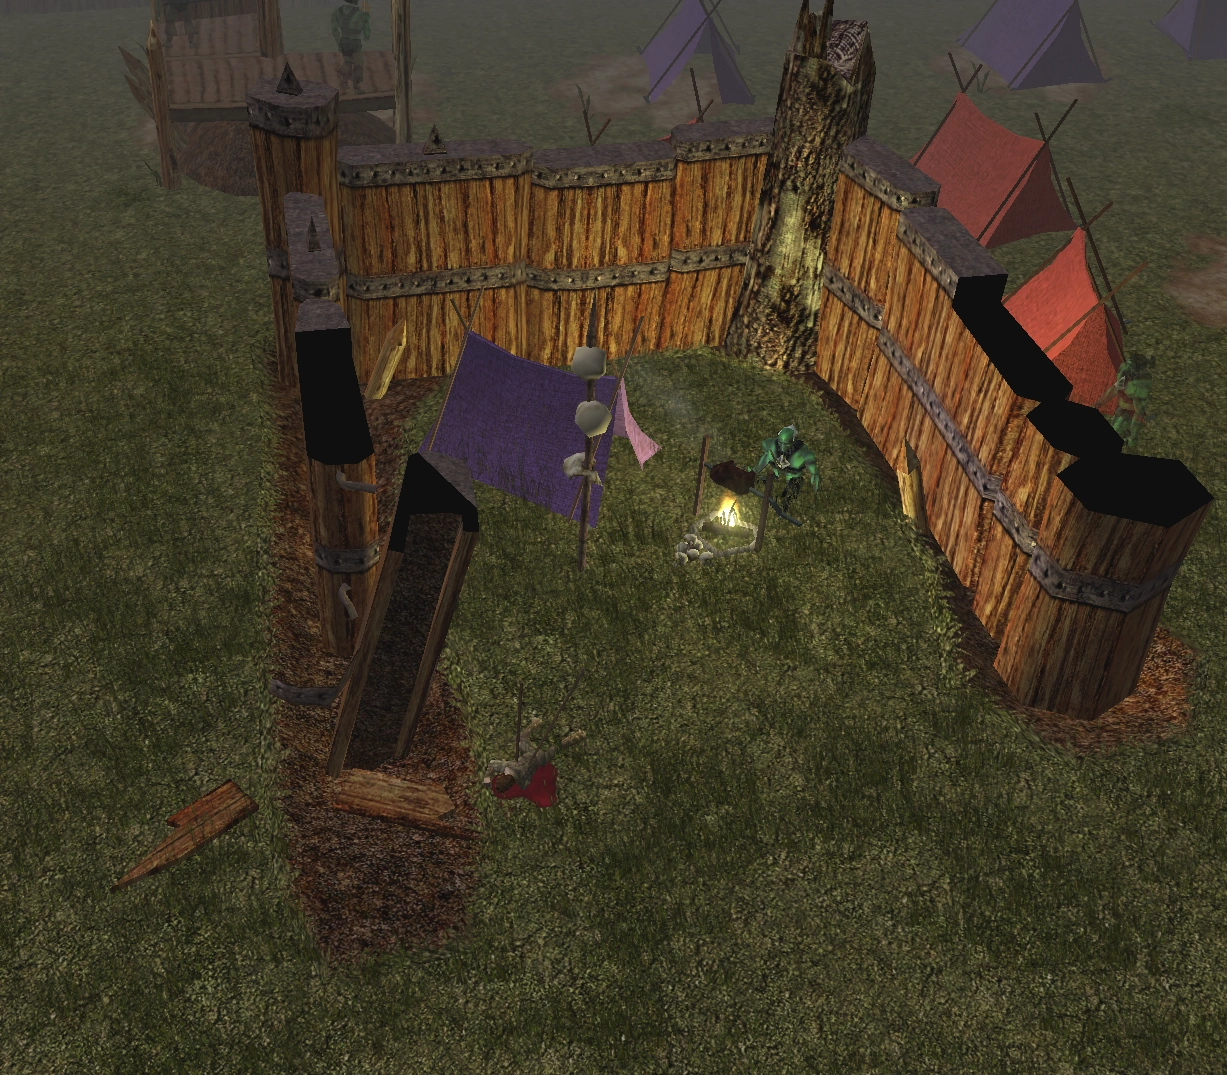

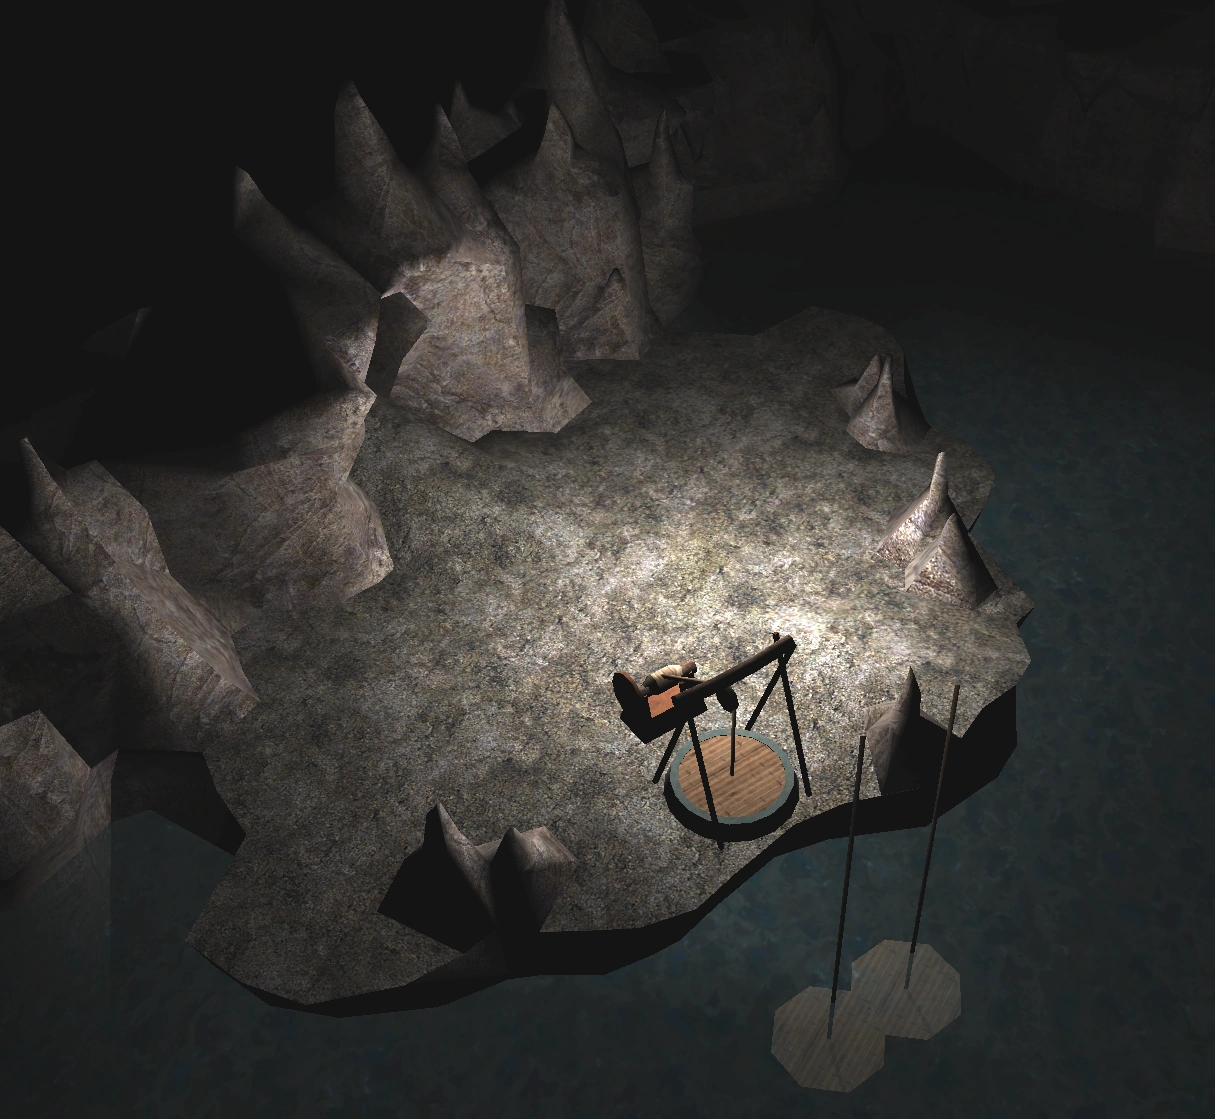
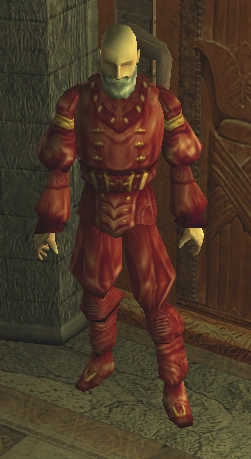
Hadush by a campfire
Following a few days of "questioning" in Bagor's Wagon, you'll be interrupted by a fellow Orc who's come to request his presence at a meeting. Once Bagor leaves, you'll be attacked. Kill the Orc, then wait for Bagor to return. He'll be extremely upset and will get a bit rough, but you'll be able to inquire about events in the camp if you hang in there. After a brief discussion, Bagor will inform you that some members of Clan Ironfist are upset with the breeding with humans, and that the resistance is lead by a gray haired Orc named Hadush. Offer to take care of Bagor's problem, then make your way into the Orc camp and toward Hadush' location (#3) in the area to the north east. His character is not actually named, but he should be the only gray haired Orc in sight, in a walled off area, and likely hostile. Be careful here, as other Orcs will attack you if they witness Hadush murder. Once he's dead, take the note from his belongings and make your way toward the prison. Before you enter the prison, you'll need to enable stealth mode for an area that's off-limits to slaves. Bagor can be found on the north side of the map, in a small walled off area. Speak with him, explain what's happened, and hand over the note.
Bagor will be pleased with the result and want to return to the wagon to copulate. After he's been satisfied, Bagor will want to leave to the Castle battlegrounds to deliver their terms of surrender, but you must persuade him to let you deliver the terms. When he agrees, you'll find yourself on the battlegrounds and moments away from being sent into the castle.
Delberg Castle[]
At last, you've made it through the Orc camp and into Delberg Castle. Upon your arrival, a crowd will gather in the courtyard, in shock over your condition. During the initial conversation, Private Perry, once a soldier in your father's army, will recognize and state your true identity as the Princess and heir to the throne of Betancuria.
Following this stunning realization, you'll be taken to Earl Delberg. After the tour plays out, you'll speak with the Earl and inform him of the Orcs demands. He'll be unwilling to comply and will welcome you to his home, with a celebration in your honor. You'll be sent to a bedroom, cleaned up, and made to look like the respectable lady that you are. Rest for a few hours, get dressed, then leave your room. You'll be greeted by Captain Roman Kley and escorted to the ball room by the Captain and Private Perry, where the celebration has already begun. Some introductions are made, followed by an argument about the Dhorn invasion of Betancuria. Speak with the group, dance and enjoy the party, then return to your room. You're now free to roam about the castle.
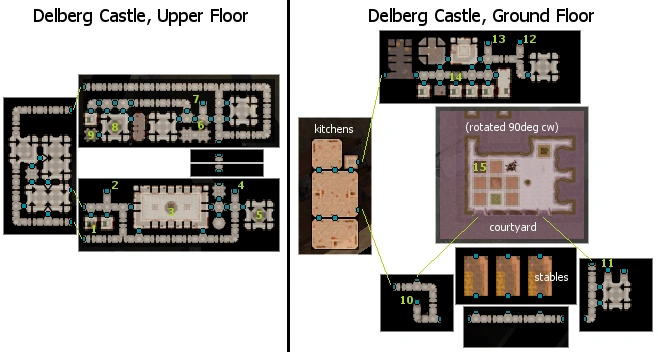
| Note: There are a number of people that you can and should try to interact with. These include Private Perry, who's big on sleep at the moment; Ventin Thensbannald, who can be found near his bedroom (#14) in the lower level of the Castle by the library; Sir Rastan Haller, Lady Mona Waldner, and Sir Hernes Willoud, who are having a snack east of the ballroom (#5); and the guards outside of the Earl's rooms (#6). During the day it's Adela Cain, and Thell Bennard at night. The main quest should be done in the evening, when Thell is on guard. The more friends you have, the more likely you are to gain access to an extended ending, and Sir Rastan and Ventin play a big part in this. See the Optional encounters below. |
While the Castle has a number areas to explore, there isn't a whole lot of interest outside of the main quest. Common areas like the kitchens and the library have a few minor encounters with lesser characters. Assorted armor and weapons can be found on the upper levels, but it's all fairly lackluster equipment. A locked chest in the jail (stairs down near #11) contains the Poacher's Mail. There's some wine in the cellars and you'll need a bottle for the main quest (if you don't already have one), but we'll get to that in a moment.
The Earl's key[]

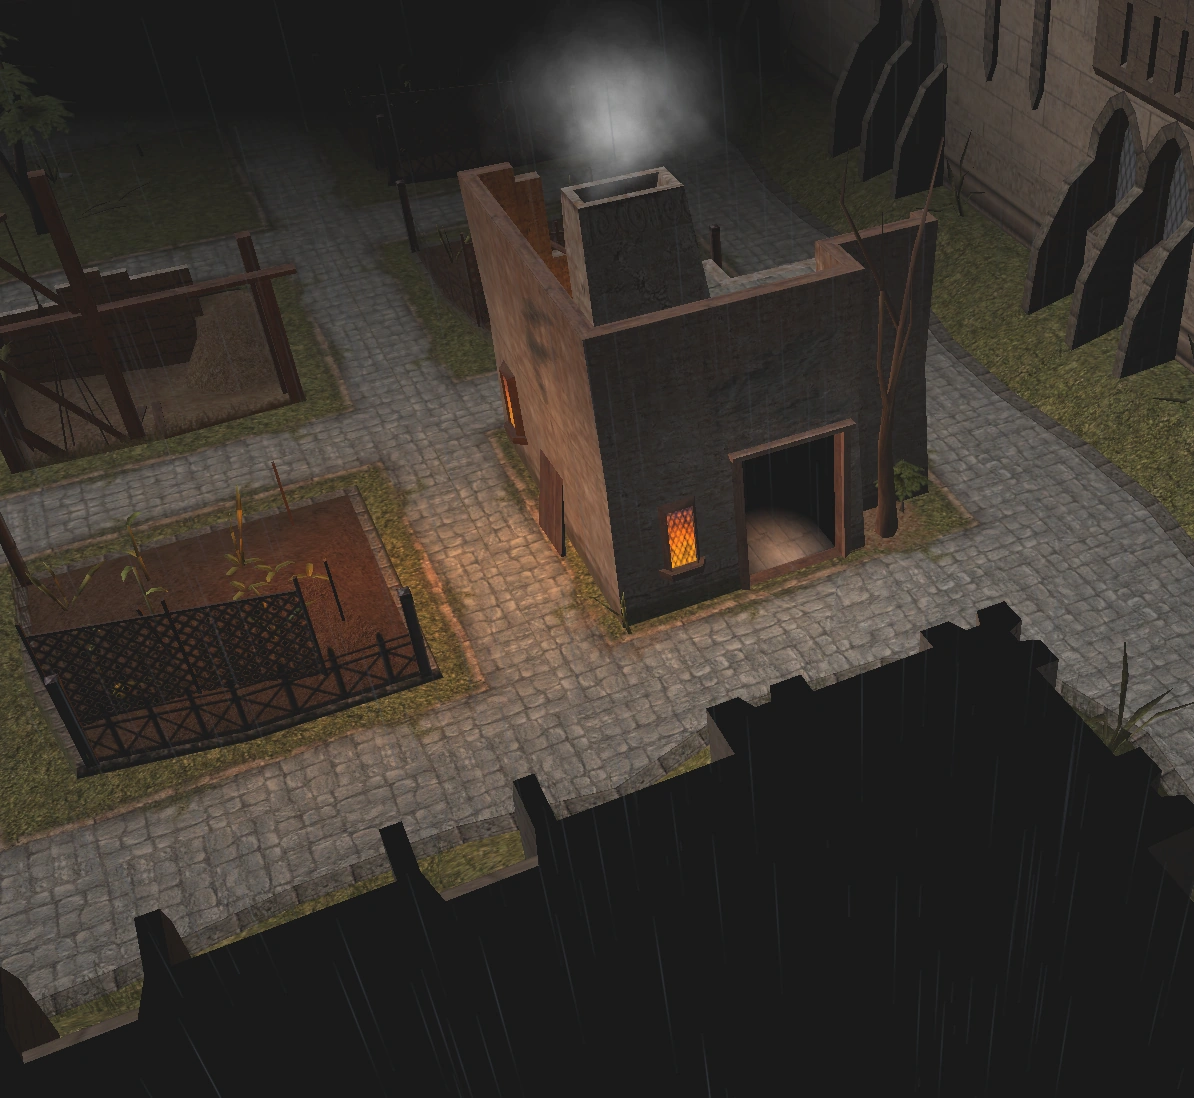
The fountain house
Your goal is to get into the treasury and steal the statue, but you have to get the Earl's key from his room first. Although Thell is a friendly soldier, he won't willingly let you pass. Fortunately, he's a bit more relaxed than Adela and will take something to drink. Wine, ale, or spirits alone won't be enough, it first needs to be spiked with the Drom Berries found in the Castle courtyard.
Just outside your room (#1) to the north east are some stairs down (#2). Take the stairs and follow the hallway to the east, turn left (north) at the hallway just before the door, then follow the hallway to the west and take the first door on your right, which leads to the courtyard. Head west until you reach the fountain house (#15), then take some Drom Berries from the nearby shrub. Return to the castle and back up the stairs to your room. Take a left (east) and make your way through the ballroom, then turn left (north) at the first hallway and through the door. The following map should only consist of a hallway. Make your way down the hallway, through the door, then take the first left (west) into the area where Thell is on guard (#6).

You can speak to Thell, but no real progress can be made without some wine, ale, or spirits. If you don't have any, you'll need to get a bottle of wine from the cellar found near the library on the ground floor of the castle. Head down the nearby stairs to your right (#7), take the first right to the west, then the first right (north) near the library. Ventin's bedroom (#14) is nearby if you'd like to speak with him, details below. Go down the stairs into the wine cellar (#13) and grab some wine, then return to Thell on the upper level. You can also get some spirits from a barrel in the kitchens, on the ground floor of the castle.
Use the Drom Berries on the liquor, which should leave you with a spiked bottle of wine, ale, or spirits. Now speak with Thell and offer him the poisoned liquor. He should pass out momentarily, leaving you free to explore the Earl's rooms. Enable stealth mode, then enter the door and head west down the long inner hallway. Take a left (south) at the first door, where you should find the Earl (#8) fast asleep. Look for the nearby chest of drawers, unlock it, then take the Earl's key.
| Note: If you've been hoarding some good Thieves Tools or can cast Knock, it's possible to get all the way into the treasury without the Earl's key. However, skipping the key acquisition seems to be able to prevent later events in the Earl's rooms from triggering, leaving the Princess stuck. |
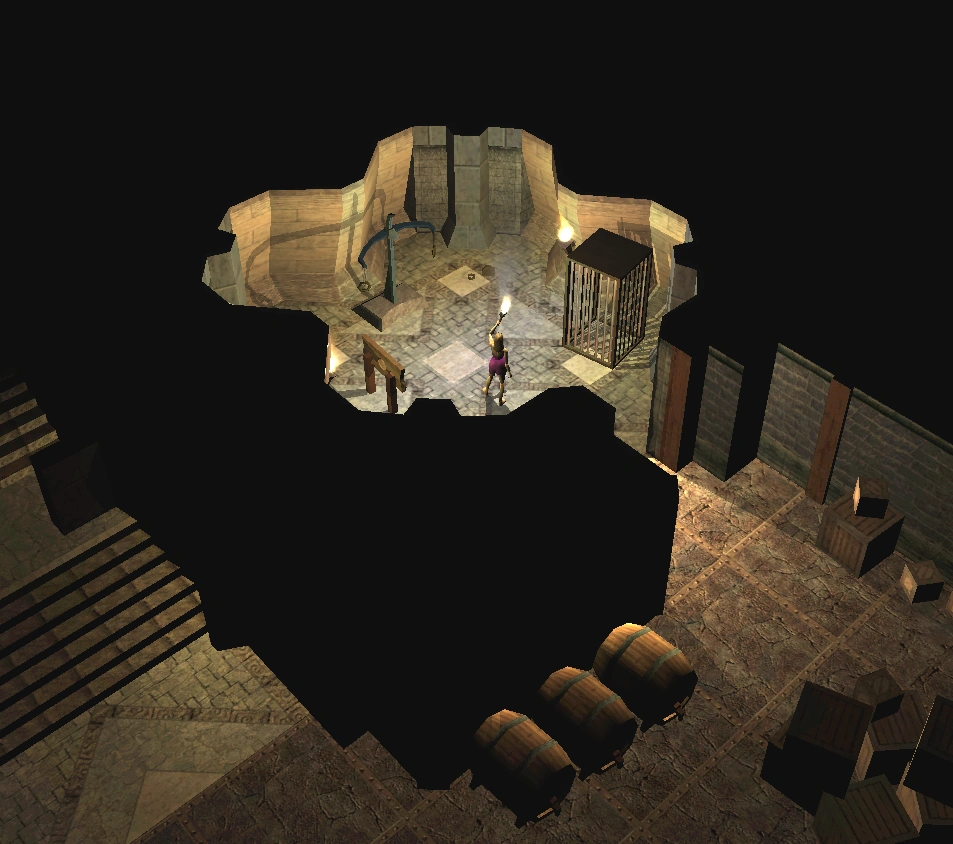
The device[]

A device below the fountain house
Now that you have the Earl's key, you can access the area beneath the fountain house (#15) and use a device to lower the water levels in the Castle cellars, exposing the secret entrance to the treasury.
| Important: You'll need two pieces of heavy armor to use the device. If you don't have any, you should pick some up from the armory or an equipment stand now. |
Head back down the hallway to the entrance of the Earl's rooms (#6), where Thell should still be out. Turn right (south) at the main hallway and continue south until you reach the ballroom (found on your right). Turn left and go down the stairs (#4), then take the first right at the stairs and follow the hall north to the courtyard. Head south west until you reach the fountain house (#15), then go inside. Unlock the door using the Earl's key and head downstairs. Now place two pieces of heavy armor (or any items totaling 80 lbs.) inside the device. If you forgot or don't have two pieces of heavy armor and don't want to return to the castle to look for some, Splint mail can be spawned with the "dm_spawnitem nw_aarcl005" debug mode command. When you've done it right, you'll get 500xp and the water level will lower (you can place additional items in the device prior to the scene change, receiving an additional 500xp reward for each item after 80 lbs, if you have paused the game this additional xp can be unlimited since you can retrieve and replace items as well).
Return to the Castle and back to the wine cellar (#13) near the library. Look for hidden door on the south west wall. Use the key to unlock the door, then head down into the cellars. Disable the trap at the base of the door, then head south and down the hill. Keep an eye open for the secret entrance to the north, then enter the treasury.
The treasury and aftermath[]
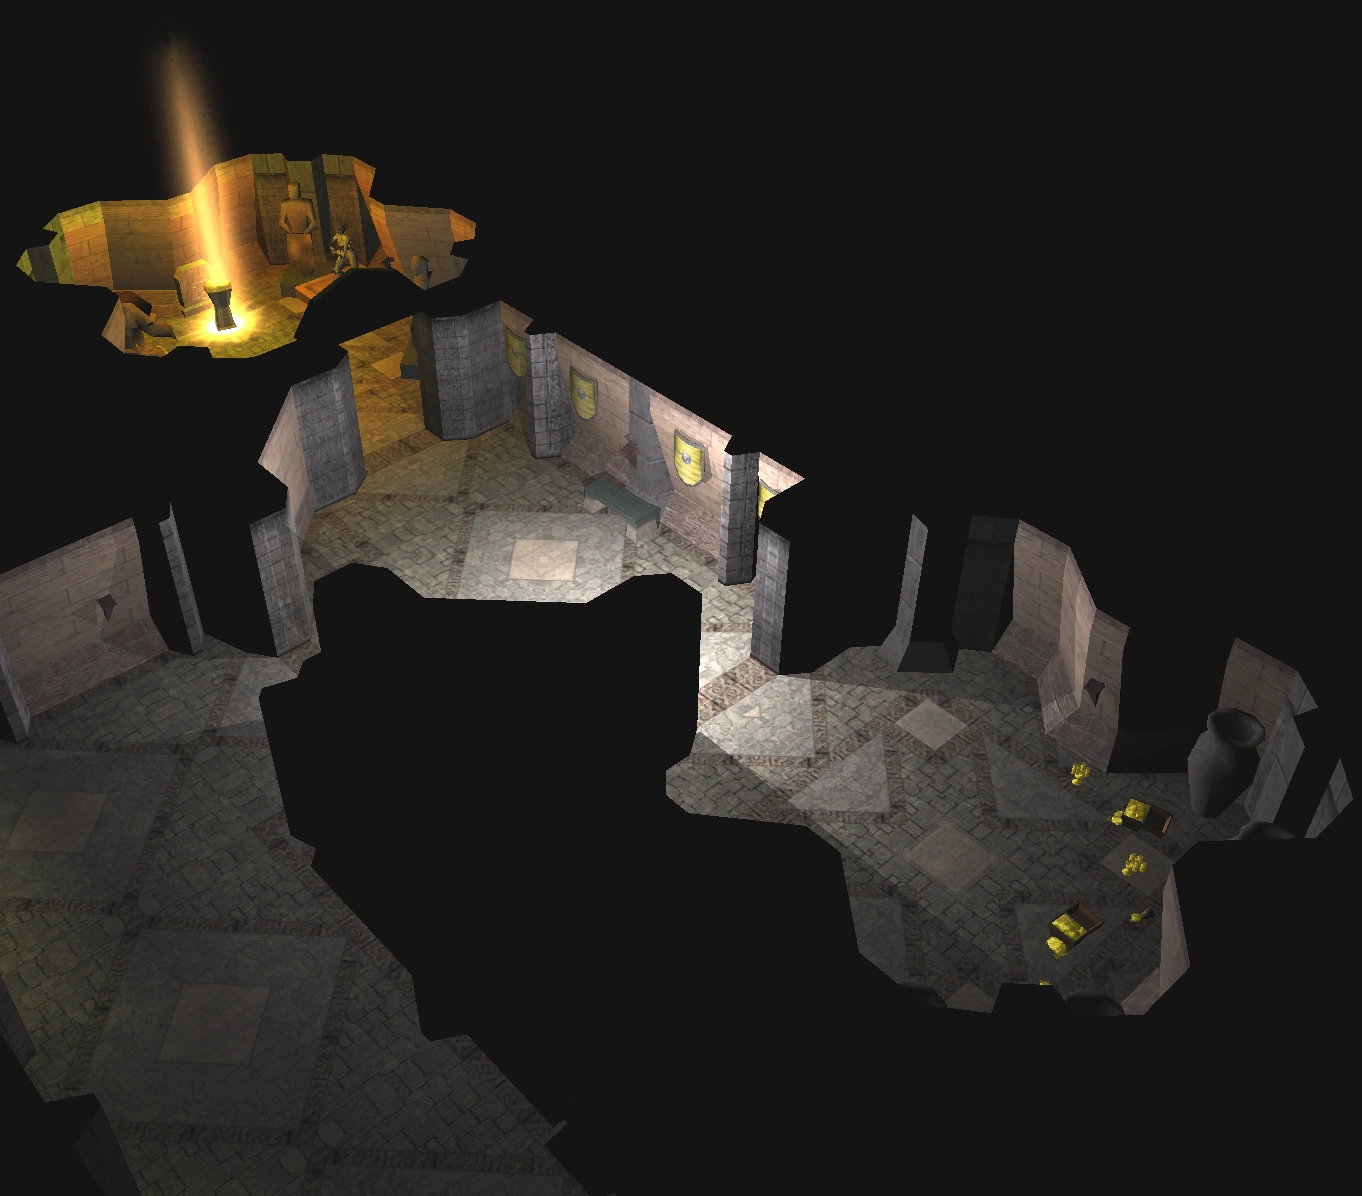

The treasury
Make your way down the hall of the treasury and through the door. To your right is a large amount of treasure. To your left is a glowing pedestal containing the statue. Move to the left room, then unlock the nearby chest and take the map. Take the statue from the pedestal, then kill the Gargoyle. Open the chest in the same room. You'll find the Delberg Castle Map which reveals a secret escape route. Exit the treasury and make your way back to the castle, through the cellars and wine cellar (#13). Take the first left to the east, the next left north and up the stairs (#7). Once you've reached the top of the stairs, there should be no guard at the Earl's rooms. Make your way back to the Earl's bedroom (#8). As you approach, you should hear voices coming from inside the room. Open the door and enter.
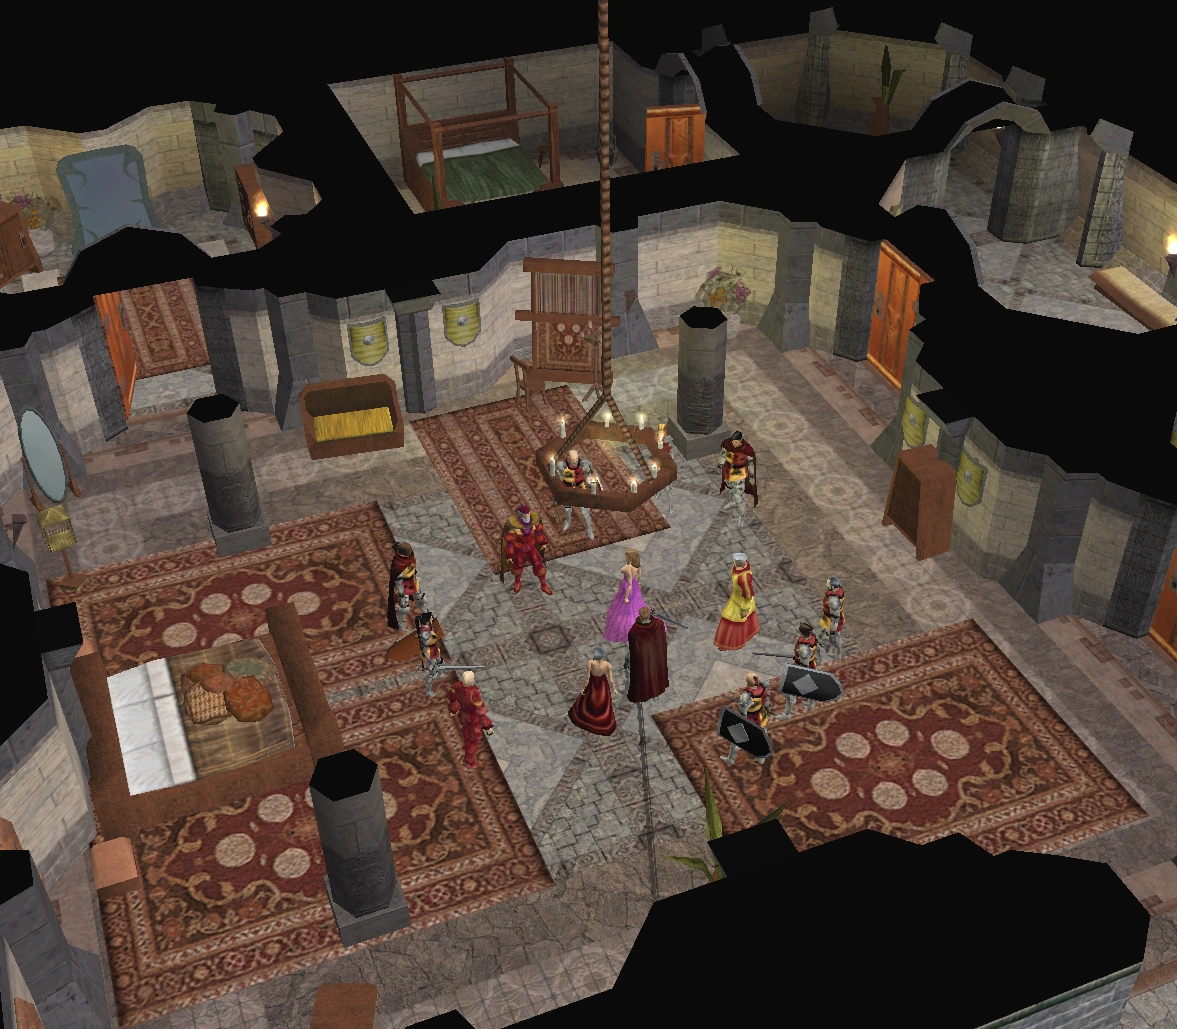

The meeting
A meeting sequence will play out, with arguments for and against handing you over to the Dhorn for their assistance with the Orcs. The Earl doesn't want to turn you over, but without support from Sir Rastan or Ventin Thensbannald, he'll turn against you in the end. Rastan, Mona, and Sir Hernes Willoud will only be there you if you entered into the duel with Sir Rastan, and they'll only support you if you ended it in an honorable fashion (see Sir Rastan Haller below for more information). Ventin will be there regardless, but will be hostile unless you participated in his act (see Master Ventin Thensbannald below). Thell will side with the Earl. Private Perry is an adamant supporter of yours and will be there for you regardless, but it's possible he could be the only one on your side. If the Earl sides with you and remains alive after the battle, you can promise to return to the Castle once you've completed your mission, to help with his Orc problem. In that case, he'll lead you to his closet and reveal the hidden trap door near the mirror (#9). This is your one and only exit. If the Earl dies, or you leave on bad terms, you're still leaving through the trap door (#9). Escape through the tunnels, then enable stealth mode before exiting.
You'll find yourself on the battlegrounds, just outside the Orc camp. Sneak past the Orcs, through their camp, to the forest, and back into the Tomb of Noris the Gray. As you approach the center of the summoning room, Hyath should appear. Now speak with him. Regardless of how the conversation goes, he'll attack. Try as you may, this is a fight you cannot win. Once defeated, you'll wake up in Greenfork Castle and begin Chapter 7.
Optional encounters[]
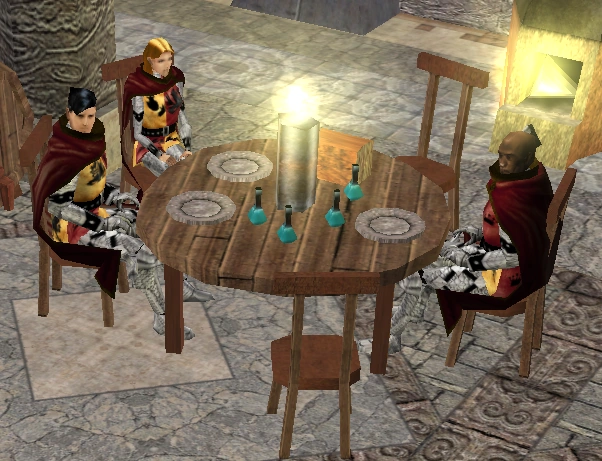
Sir Rastan Haller[]

You can find Sir Rastan Haller, Lady Mona Waldner, and Sir Hernes Willoud taking a break in a room to the east of the ballroom (#5). As you speak with the trio, you'll find Sir Rastan to be making rather rude comments and he just won't let up. It's possible to enter into a duel with him to defend your honor.
| Important: If you do nothing or fight in a dishonorable manner, you will not gain the trio's support in the Earl's meeting and there will be no possibility of an extended ending (unless you interact with Ventin below). It will also not be possible to advance the story with Lady Mona (below). |
Once the duel has been set, gear up at the nearby equipment racks, then step forward. As Rastan nears death, he should surrender. If you do not allow him to surrender, Mona and the other guard will become hostile and attack. If you end the battle in an honorable way, Sir Hernes will take Rastan to the infirmary and leave Mona behind. This will gain the favor of the trio, who will then support you in a meeting the Earl holds after you acquire Delberg's Statue. Their support will sway the Earl, who will then side with you and offer the option to return to help with their Orc problem.
Lady Mona Waldner[]
With Sir Rastan and the duel behind you, you can now sit down and have a drink with Lady Mona. The conversation can take a romantic path, presenting the option of asking her back to your room for the night. You'll wake up the next morning alone and, despite your best efforts, Mona cannot be found anywhere.
| Note: It is not necessary to sleep with Lady Mona in order to get access to the extended ending. If you do not speak with her, she will not show up at the Earl's meeting to support you. |
Master Ventin Thensbannald[]

You first meet Ventin Thensbannald during the ball (#3). If you chose to dance with him, you'll know he can get a bit frisky. If you'd like to speak with him again, you'll need to find his bedroom on the lower level of the castle, near the library and the wine cellar.
| Important: Seeing Ventin's second encounter through will gain his support later in the Earl's meeting, which will also sway the Earl and open the possibility of an extended ending (similar to Sir Rastan above). |
Ventin's bedroom is the 3rd door down the hallway (#14). He's not there, but if you examine his bookshelf and the book contained within, he'll show up and speak with you. If you're interested in interacting with him in a sexual manner, tell him how you're enjoying the book and respond accordingly when he asks if you'd like to try some of the acts contained within.

,_Ventin%27s_Room.png)
Ventin's favorite place
If your responses are a bit apprehensive, Ventin will suggest you bring along someone you trust, like Private Perry. It's also possible to involve the Private without Ventin suggesting it, just agree to a session and ask him to wait. Head upstairs to your room (#1), speak with the Private and request he accompany you, then return downstairs and speak with Ventin. You can inform Private Perry that you're going to the cellars with Ventin or ask him to come along.
After the conversation ends, Ventin will lead you downstairs to a locked door in the wine cellar (#13). He will bind your hands and feet, rip off your clothes, and later blindfold you. You can make sounds of protest as the session progresses, but these will mostly go ignored. If Perry is with you, he'll show concern at more than one point, but Ventin will explain it's all necessary in order for you to get the full experience. When it's over, Ventin will untie you. If you felt you were violated, you can attack him. Otherwise he'll hand you a dress from a nearby chest and you'll go your separate ways. If Private Perry was involved, there's a bit more remaining.
Private Perry[]
If Private Perry accompanied you during Ventin's session in the wine cellar (#13), he'll follow you back up to your bedroom (#1) and want to return to his guard duty. If you so choose, you can take him into your bedroom and ask him to spend the night. Actually, being the ever vigilant soldier, he won't spend the whole night and will return to his duties after. However, you can insist he stays on the couch in your room, since he is now your bodyguard and no one would find it strange. If you were hoping for more, you're out of luck. Unfortunately for you, the good Private is quite the sleeper, and you've tuckered him out. The next time you'll interact with him will be during the meeting in the Earl's bedroom (#8).
The Groom[]
During the day the groom can be found tending to the horses in the stables, located near the kitchens on the ground floor of the castle. He will tell you a few things about the menu. If you speak with the kitchen staff and take a look at the ring in his bed roll (in the kitchen), it appears the groom has been having an affair with the Countess. Lady Mona also knows something is going on, but she doesn't have much to say about it.
| This article is part of a collection for the walkthrough for Part Two. The previous article is Chapter 5. The next article is Chapter 7. |