| This article contains information on a character, area, item, or quest that has changed in the latest version of Part One as of v1.50. It has been updated to reflect the changes. |
| This article is part of a collection for the walkthrough for Part One. The previous article is Uncover the Dhorn Spies. The next article is Captured. |
| This article could use some additional attention/cleanup, specifically the documentation of items and characters. Please improve it if you can. See the relevant discussion on the talk page. |
Overview[]
This is a mandatory quest that is received from Christano Arniman in the One Thousand Steps Inn (Betancuria South). The quest may be received during Chapter 1 but can't be continued until having completed the seven lessons, meaning Chapter 2.
When the Princess enters the One Thousand Steps Inn, she will notice a man sitting with a woman at a side table checking her out. Once she approaches the couple, the man introduces himself as Christano Arniman, paladin of the Church of the Sun Lord, and his companion as Myra Waynolt, a cleric of the said church. He will tell the Princess that the couple are on a mission to find a holy relic of the church called the Golden Chalice, and that they are in need of a thief who could help them with locks and traps during their expedition to explore the Temple of Hyath in Summer Islands. Thus he will propose the Princess to join the expedition for a decent payment. Until the Princess decides to join the expedition, the couple will stay in the One Thousand Steps Inn, enjoying the local cuisine and each other's company.
| Spoiler: Once the Princess is ready to go, the party travels by sea to the Summer Islands and explores the secrets of the Temple of Hyath sometimes together, sometimes apart. During this quest the Princess significantly improves her skills, picks up lots of loot and learns something about couple dynamics. This quest also allows the Princess to detach herself from The Family and events in Betancuria for a time, and be on her own. During this quest the Princess can have her first try in romance as well as in demonology, both with mixed success. She also learns about Hyath and the Nameless One for the first time. Once the Princess returns to Betancuria, she gets a surprising reminder of Betancurian realities. |
Notes[]
- The quest is a time consuming one and takes the Princess out of Betancuria. Due to this it should be done when the Princess has no time sensitive quests active.
- When the Princess apparently has nothing to do but rest, it's advisable to use the opportunity to do just that.
- On the way from the Temple back to the ship it is wise to take back all the equipment given to Christano or Myra, as they will soon depart.
- In early versions of this quest, the Princess could be mounted by a Dragon, and brag about it to Vico afterwards.
- Selling the loot from this quest can give you a lot of money, more than 100k from selling traps alone. So, make sure to recover them instead of just disabling. By far most expensive traps are Gas ones.
Walkthrough[]
|


This is a mandatory quest during Chapter 2 of Part One.
Meet Christano and Myra in the One Thousand Steps Inn (Betancuria South). After agreeing to help them, meet them at the harbor (Betancuria South) and sail to the Summer Islands. Once there, lead the party up to the temple at the top of the mountain, in the northeastern corner of the area.
It is advisable, depending on your particular skills, to be at least level 4 before starting this quest. You should get at least one level up during the quest. You will need a high level with traps, lock picking or serious lock pick tools, stealth and hiding and it is quite good to have high lore skills to be able to use some of the loot you find. With limited places to rest it is advisable to have plenty of potions and healing kits, Christano and Myra will need your help between fights.
If you collect all the loot you find you will end up with about 600 pounds to carry, you will probably increase your wealth by at least 20,00 gold pieces when you sell it, know the worth of different items before you waste time carrying a 60 pound great sword with you which is only worth a few gold pieces.
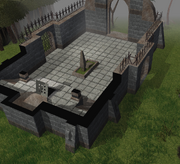
Entering the temple[]
Enter the temple and take the stairs down in the southwest corner (to the Pit). Fight the spiders, bash the web and grab the Small Brass Key that's in the cocoon. If you approach the edge of the pit before returning to the main level, a brief conversation will follow where Christano will end up relieving himself into the pit and you can do the same.
| Note: v1.30 and earlier only spoke of the foreboding nature of the pit when standing at the edge. The urination is new to 1.40 and had a possible consequence, later removed in 1.50. |
Go back up and head to the northwest corner. Try to open (or pick the lock of) the southern door with the relief, then take off your clothes and "hug" the door. Fight the undead cleric and get the Cleric's Key from the chest.
Unlock the door opposite of the relief door and go down. You will have to disarm a couple of traps and pick some locks, then go further down.
The caverns[]
The caverns
Unlock the first door in the caverns using the Small Brass Key from the cocoon. At the crossroad unlock the door to the west, first. Fight another undead cleric. There's a safe room at the end of the corridor where you can rest as long as the door is locked (with the Small Brass Key). There will be a conversation during rest.
Go back to the crossroad. You can't open the door with the blue shafts of light for now. Go south to the cells. Fight the undead slaves. There's a hole in the southern-most cell. If you have brought a rope, you can use that to climb down and you will get XP for being prepared, otherwise you will have to jump. Christano and Myra will stay in the cell to "watch your back" so you will be on your own for a while.
| Note: In EE 2.0 version, the key is not found in the cocoon. Instead, there are two hidden doors (these require a long time to discover even in search mode) in the messy room just before the room with the un-lockpick-able door. |
Down the hole[]
Once down the hole, you'll find yourself in an empty room with two locked doors. You can rest on the bedroll in the small room to the right. The door on the left opens to a larger area with a pit in the middle and the body of a dead Paladin just around the corner to the south. You can loot his body for a diary and a greatsword. Taking either item will result in a disturbing vision, taking both will cause the Undead Paladin to appear and attack. The disturbing vision is new to v1.50.
| Note: In v1.40, urinating into the pit (along with Christano) on the lower level and then resting on the bedroll triggered a dream sequence that showed you relaxing at the pit and a demon appearing over you. Upon awakening from the dream, it became apparent that you had been violated sexually. |
If you decide to take the Paladin's items, you can use a bow to snipe him while circling around the big hole or hit, run, and/or heal for the melee option. You can also try enabling stealth and sneaking away. Even if you cannot use the sword yourself, it's a nice addition as you can give it to Christano later or sell it when you return to Betancuria.
Return to the main room (where you started) and look for the tracks near the north wall, where a hidden door should appear. Follow the corridor and watch out for traps. You can collect some for later or disarm them all for the XP.
Sneak into the room to the south with the zombies and get the Gauntlets of Thievery (you need a high lore to be able to identify it) and the gate key from the corpse in the south-eastern corner (the zombies may spot you, but if you close and lock the door behind you without fighting them you will be fine). Unlock the fence door using the gate key and enter the sanctum of the temple.
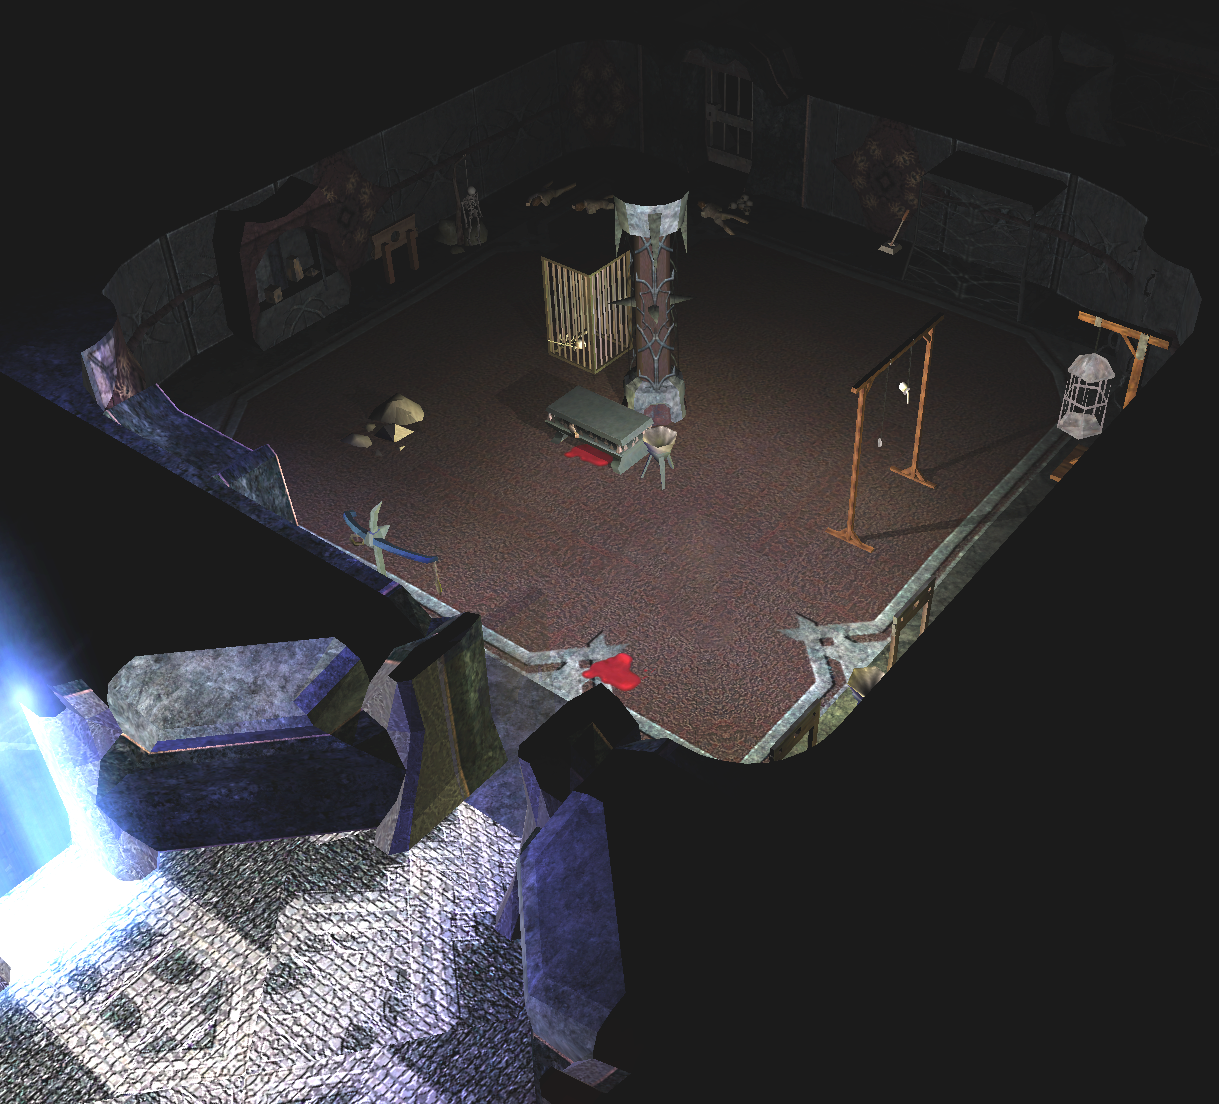
The sanctum[]

An altar in the sanctum
There are two hidden doors in the room you enter. First, go south. Destroy the phylactery in the high priest's room. Also check out the priest's diary for some background, and you can rest here. Then go back to the room you entered the area in. Step through the hidden door to the west. Be careful to sneak, as the skeletal guardians will probably tear you apart. Follow the second corridor to the south. There's another hidden door at its end.
Pick pocket the four keys from the four high priests or kill them if you've destroyed their phylacteries,if you work out their patrol patterns you can use the traps you liberated earlier to weaken them first . Unlock the remaining rooms of the high priests and destroy all the phylacteries (four in total). This unlocks the warded door upstairs (the one with the blue shafts you have already passed) and the central chapel.
- Optionally, enter the chapel in the center of the area. To summon Hyath you need to understand the altar with Spellcraft (need a skill of 7) or Lore (need a skill of 5). When successful, click on the altar again and it will start another conversation. Darkness will gather around you and a shadow will appear. If you do this after you get Christano or Myra back, the shadow will leave right away. If you are by yourself, you will get a Black Pearl Ring from him. It does not matter if you let the shadow sympathize with you, and you can either take the ring or not. If you do take it, the haste spell is excellent for battle.
There's a hidden door on the south wall of the corridor that surrounds the chapel. Follow it all the way south, then turn east. There's yet another secret door at its end. Step through and go up.
Go up yet another set of stairs. Open the door (the shafts of blue light should be gone as a result of you destroying all four phylacteries) and rejoin with Christano and Myra. Return to the stairs with them.
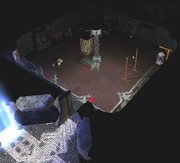
The bridge[]
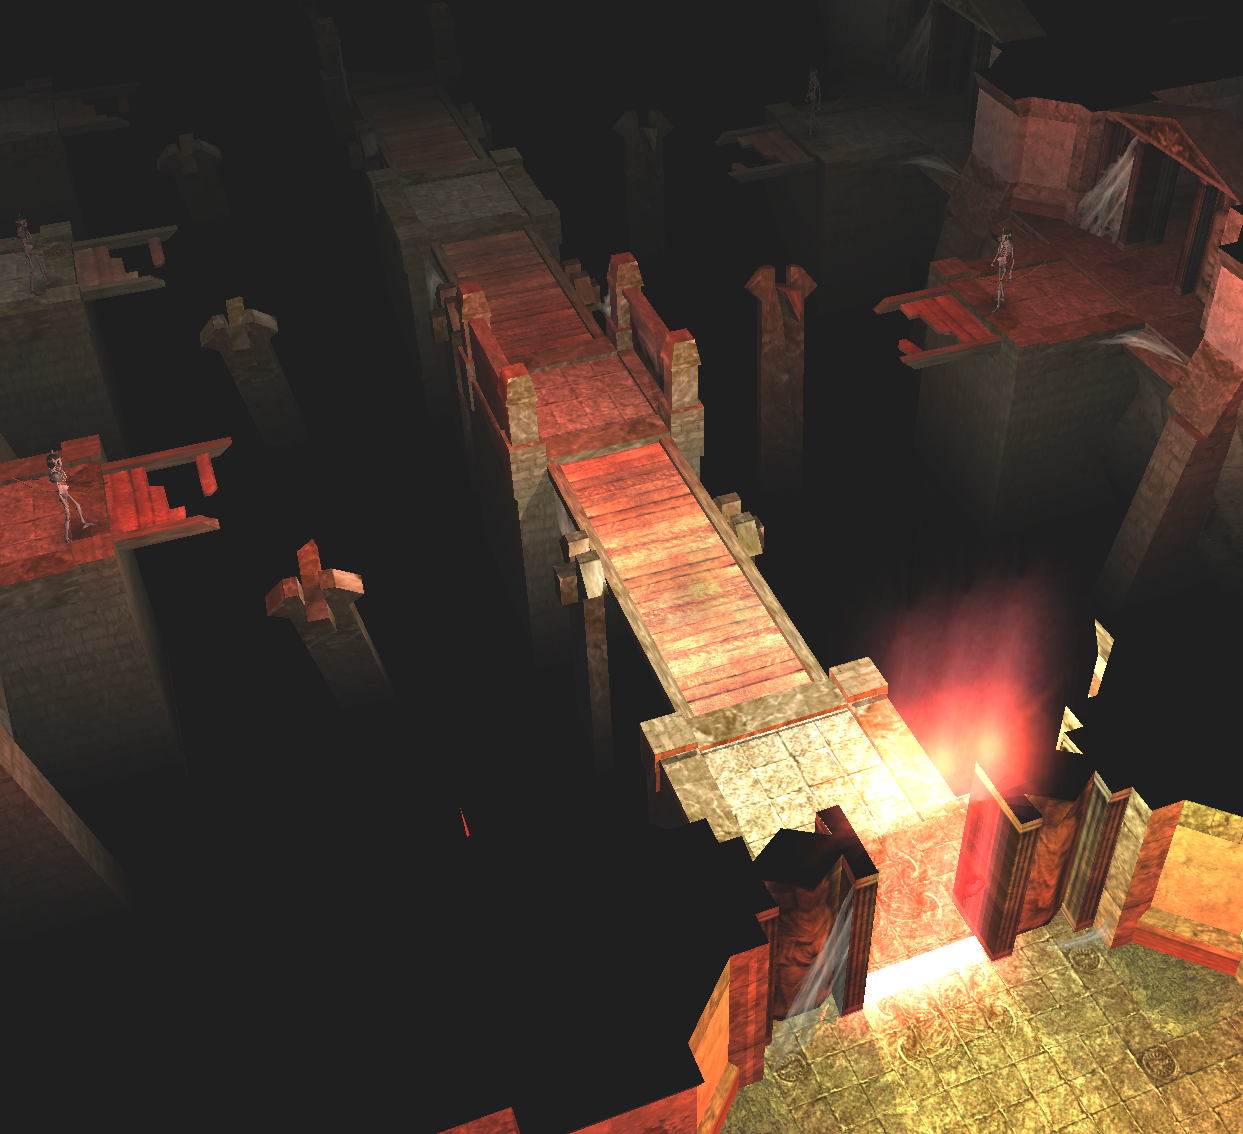

The bridge
Go down and follow the steps to the north this time. Get rid of the ghouls, and then enter the safe room to the east. Go to the ledge. With the help of Christano and Myra you will reach the small room to the south. Grab the Small Iron Key and the Belt of the Brave (very useful when you face the mummy warriors later on). Go back to Christano and Myra. You will engage in a conversation where you can deepen your relationship with Christano while Myra is asleep. Then Hyath will interfere again. You can either keep the Black Pearl Ring or throw it away during the conversation.
Unlock the door to the south using the Small Iron Key. Do not ignore the warning of danger lurking on its other side! Myra and Christano will join you and tell you that they will wait at the safe room while you disarm all the traps (some of which are placed in rather innovative ways) on the bridge. They will join you in the room to the south as it is a safe point. Be sure to close the door so the archers don't snipe you.
Turn east. Plunder the grave of the undead captain (yet another nice sword, if you can use it, or to give to Christano to use).
Go west and north. In the small room with the three levers pull the southern-most lever to unlock the three cells with the skeletal archers to the north. In the last room north, pull the lever on the pillar. (In an earlier version of the module the sarcophagus contained a key, and the pillar didn't exist.)
Go south, cross the bridge. The southern door is still locked, you have to pull another lever to unlock it. Turn east and north. If you cannot disarm the gas traps, just sneak through carefully (preferably with Christano and Myra waiting safely out of reach). Pull the lever on the pillar in the northern room. Note that one of the cells with the skeletal archers can be reached via a secret door. (In an earlier version of the module the sarcophagus behind the secret door contained a key, and the pillar didn't exist.)
Return the way you came to the southern door with the blue shafts of light. The door is now unlocked, thanks to pulling the levers on the pllars. Proceed to the door at the end of the corridor and move forth to the tombs. (In an earlier version of the module these two doors had to be unlocked with the keys found in the sarcophagi.)
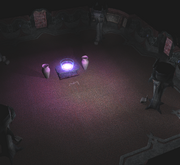
The tombs[]


A sarcophagus in the tombs
Pick the lock of the door in the northwestern corner. Take a bath (if you are still suffering from poison this will cure it) in the fountain. Whether you have accepted Christano's advances or not the option of resting comes up. After that you can have an adult scene with Christano or reject his advances. If you still have the Black Pearl Ring that the shadow gave you, he will talk to you after. At that point you can get rid of the ring or you can summon him. You will finish your sleep and wake in the morning.
| Note: Be careful here. You are given only two choices in the dialog - to "summon" the ring entity, or throw the ring away permanently. The temptation may be to drop the Black Pearl ring before the conversation to avoid that choice. If you do this and pick up the ring afterwards, if you are still carrying it at the end of the quest the module will send you to a cheat area where you will have a tiny cut scene then game over. |
When you leave the room with the fountain in it, the ghost of the cult leader - now repentant and longing for peace - will spawn and talk to you. It describes how a part of the cult turned their backs on Hyath and retreated even further beneath the temple, behind a magical barrier that blocked out the demon's influence. Despite their efforts, true death did not take the cultists when they perished, and instead they stayed as undead. The ghost believes that the Nameless One himself traps the souls on the island.
Depending on your choices, the story will proceed differently.
1. If you declined the shadow[]
If you have not summoned Hyath, the ghost will tell you how to destroy its body and get the chalice.
Get water from the fountain, take it into the basin near the altar, and ring the gong. The previously locked doors open and you be attacked by two Undead Temple Knights and the Heretic Priest of Hyath. You can use traps to try and weaken them. Luring them back to the fountain room and fighting them one at a time, or retreating to the upper levels may make the battle easier. Now loot the surrounding rooms. Some Battered Leather Armor and a Lesser Ring of Power can be found in the sarcophagus to the east, and the The Golden Chalice and a Namarra in the Priest's chamber to the west.
Go all the way back up and leave the temple. Once you are near the boat, Christano will address you. Following the conversation you will return to Betancuria.
2. If you summoned Hyath[]
If you have summoned Hyath, he will show up during the conversation with the ghost in his true demon form (if you didn't figure out that you were summoning a demon, you haven't been playing D&D long). At this point you can take the demon's side and kill Christano, which will result in a 10 point alignment shift toward evil and Myra turning hostile. Otherwise the demon will take off Christano's arm.
- If you say this is a good thing, then you will get a 5 point alignment shift toward evil. After that if you tell Myra that he deserved it, or if you look away, another alignment shift toward evil occurs. If you show no mercy, you'll get hit with more evil and Myra will attack the demon and die as well. Then Hyath will tell you that you've done well and offer you a reward. You can refuse or take a reward of armor, a weapon, 50000 gold or 6666xp.
- If you plead with Hyath not to hurt him anymore, you will get an alignment shift toward good. Then you can ask that Hyath heal him, which will lead to another alignment shift toward good, and Christano will be raised. Hyath is not happy enough to reward you, but you won't get attacked either.
| Note: If you urinated in the pit on the lower level and rested on the bed roll in the hole in v1.40, Hyath revealed that he made you his bride that night. Possible consequences of this were never fully realized as it was removed in v1.50, before Part Two received a corresponding update. |
Hyath tells you he may see you again (and he does appear later in Part Two). This ends the quest, though you can still open the crypt doors and loot them which is well worth while and then you (either by yourself or with your party) can go all the way back up and leave the temple. Talk to the captain at the boat and he will take you back to Betancuria.
| Bug: It's possible to repeat Hyath's gift dialog (option #1) once the selection has been made, giving access to an unlimited source of gold, experience, and all of the armor and weapons Hyath offers. Exploitation of this could undermine the intended challenge of the game. |
The resolution[]
The princess is dropped off at the docks in southern B and her companions are gone for good in any case. It's a good idea, to visit Alfons in the hideout and tell him about the adventure. The princess may also store all surplus stuff in the chest near Mondo, especially, if she suffers from encumberance. It's not possible to sell it to her favorite merchant in northern B. right now..
At the first time she enters Northern Betancuria, the Quest "Captured" will be stated. Note that the secret entrance to the Bears Pit is not available not.
Continue Chapter 2 of Part One.
| This article is part of a collection for the walkthrough for Part One. The previous article is Uncover the Dhorn Spies. The next article is Captured. |