| This article contains information on a character, area, item, or quest that has changed in the latest version of Part One as of v1.40. It has been updated to reflect the changes. |
| This article is part of a collection for the walkthrough for Part One. The previous article is Pia is Missing. The next article is Bank Raider. |
After the Princess' returns from Ravenstower, her life is about to be thrown into chaos once more. The Dhorn have been facing increasing resistance from within Betancuria and their investigation hasn't been completely fruitless; they're about to deal a crippling blow to the Family.
Walkthrough[]
|

The Bear Pit[]
After rescuing Pia from Ravenstower, you should return to Betancuria and stop by the Hideout to speak with Alfons.
| Important: You must speak with Alfons and then return to the Bear Pit in order to continue the game. Once you've spoken, the upper levels of the Bear Pit will become inaccessible following a Dhorn raid. If there's any equipment you'd like to pick up or other business left unfinished, take care of it first. |
Alfons will welcome you back and suggest you let Master Nathan know you're home. If you have access to the SART entrance on the ground floor of the Bear Pit, you will be unable to use it at this time. Exit the Hideout and return to the surface, then make your way to the Bear Pit in Betancuria North.
If you rescued Anden Goodmanner from the prison in the Wilderness Castle during Lesson 7, he will greet you outside of the Bear Pit (even if you gave him a false address) and ask you out for dinner. You can accept or refuse. If you accept, he will join your party.
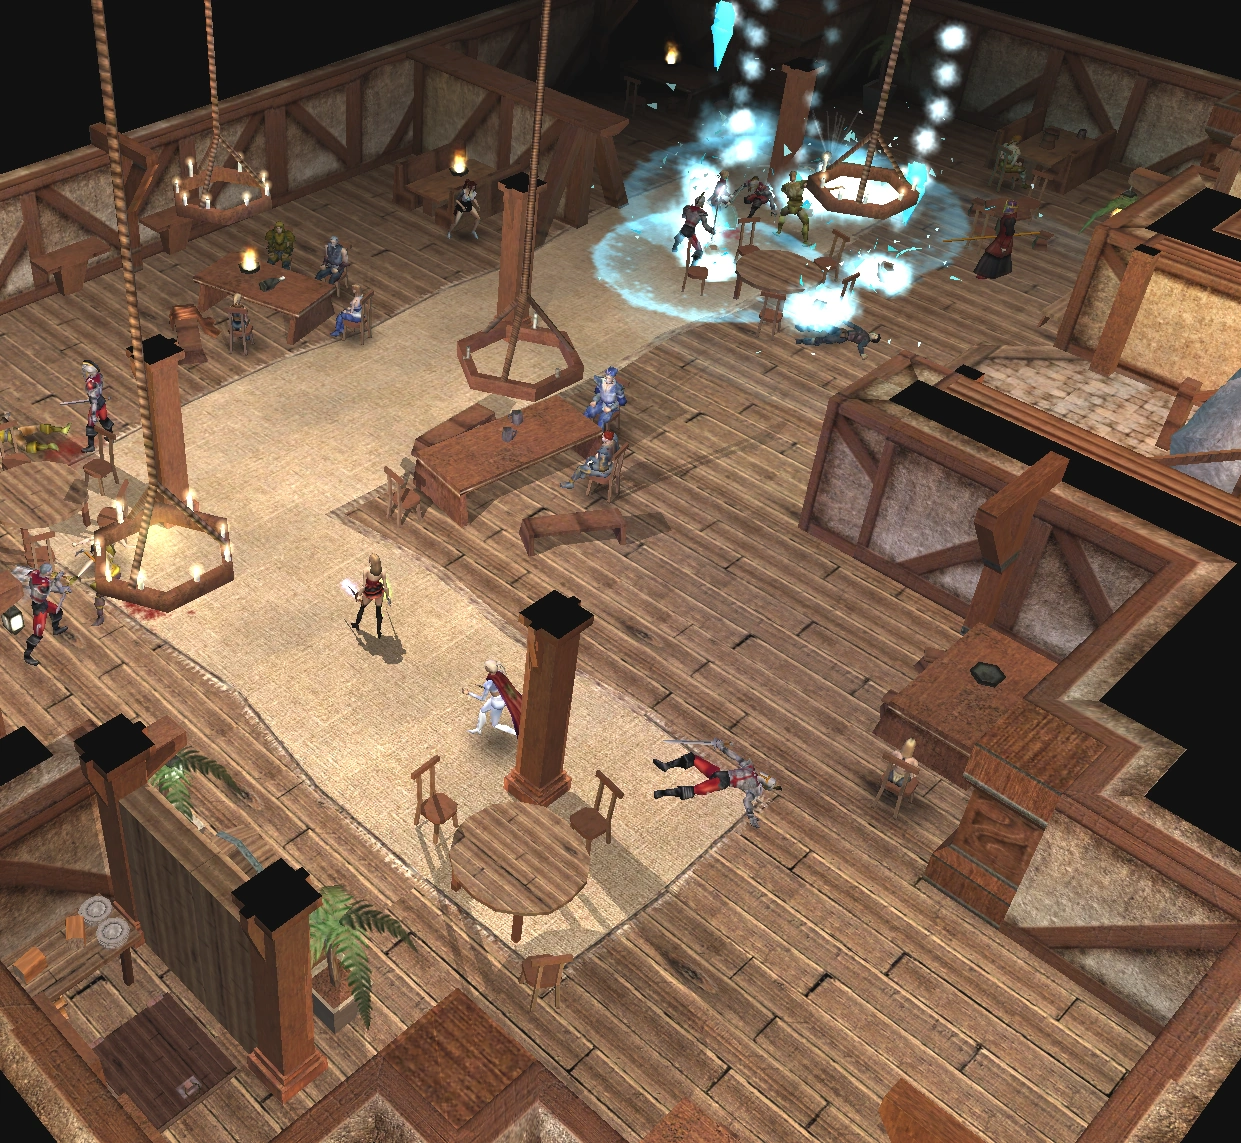
A battle rages on the ground floor
When you enter the Bear Pit, a waitress will greet you and seat your party. As the waitress takes your order, a large number of Dhorn soldiers will enter. Many will rush upstairs, while the remainder stay behind to secure the ground floor. After a few moments, sounds of battle can be heard from the upper levels and then the soldiers on the ground floor will attack. You can stay and fight or flee. If you decide to fight, the battle can be made easier by killing the battle mage first. Scrolls or potions of darkness can also help. See the Strategy Guide for more information.
There are three possible exits in the Bear Pit - the front door, the window at the rear, and possibly the trap door leading into the sewers near the entrance:
- The front door has been locked, which could be difficult if you're under attack. If you have problems with the lock, just try again. You'll be greeted by a large number of Dhorn archers if you exit through the front door. If you're quick, you should be able to run past them and escape to Betancuria South, where they won't follow. The archers will disband once you've left the area, so you're free to return to Betancuria North and resurrect any party members who were unable to make it.
- The window can be tricky because an interactive dialog is required to use it. If a party member is fending off an attack, you will be unable to open the dialog. If you manage to escape through the window, the archers will not attack.
- The SART entrance is ideal because of its proximity to your table, but it can only be used if it was previously found in the Sewers.
After you've made it out, return to the Hideout in the sewers and tell Alfons what happened.
| Note: Version v1.30 and earlier continued this mission in the Raid on Mennes house. |
Once Alfons has heard what has happened, he will instruct you and the other family members to abandon the hideout and regroup at Barich's Tavern in Betancuria South. Upon exiting the hideout, Dhorn soldiers will attack. The rest of the trip to Barich's Tavern should be uneventful. Speak with Alfons when you've arrived and he'll inform you that Timmy has overheard soldiers saying that Master Nathan and the rest of the family members in the Bear Pit have been taken to an old Hunting Lodge in the King's Forest. Alfons will ask you to take Vico and the rest your party north of the city and find this hunting lodge.
Get to the King's Forest[]

.png)
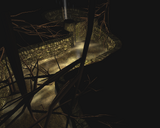
The secret passage
Now that you have some idea of where Master Nathan and the others are being held, you need to find a way outside the north wall of Betancuria. You've been told by Alfons that there's an old ruined house in Betancuria West with a secret passage behind the fireplace that leads out of the city. Exit Barich's Tavern and make your way to West. The trip should be uneventful with the Dhorn showing no hostility to your group. The house is located just around the corner from Tald's Tavern, both of which are a short distance from the gate to the North Road. Pick or bash the door and enter. Once inside, Pia should comment on this being the old night watchman's house and Vico will suggest checking out the fireplace.
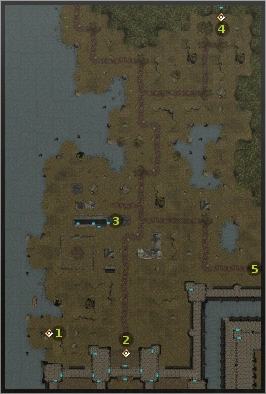
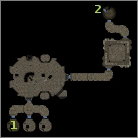
Upon entering the secret passage behind the fireplace, you'll be in a dark, foul-smelling passage. Enter the hole and continue down the corridor. Pia will stop you at one point and mention having difficulty breathing. You'll begin taking damage due to suffocation. Unlock or bash the door and take care of the bats, then climb up the ladder. You'll find yourself outside Betancuria, having exited through a grave (#1). Vico believes the road should only be a few hundred feet to the east of your position, and you should follow it north.
Continue along the wall of the city until you reach the road. You can speak with the Dhorn Corporal at the city gates (#2), who explains the city is under occupation by the Dhorn Empire and civilians aren't allowed to enter at this time due to riots in the city. Follow the road north past some rundown buildings. There's a sign near the fork in the road that says the King's Forest can be found north. You can explore the area and rest in the nearby ruined house (#3), but there's nothing of interest in this area. Continue north until Anden stops you. He explains the road to the north west leads to the Great River, but is now inaccessible because of the destroyed bridge (seen during Lesson 7). Follow the road north east into the King's Forest (#4).
The King's Forest[]
As you make your way down the road in the King's Forest, you'll come across two buildings. There's a small barn on the left and the Sleeping Troll Inn is on the right. The Sleeping Troll is in extremely poor shape, but there's a dry room and bed on the upper floor. Rest if you like, then return to the road and follow it south east to the lake.
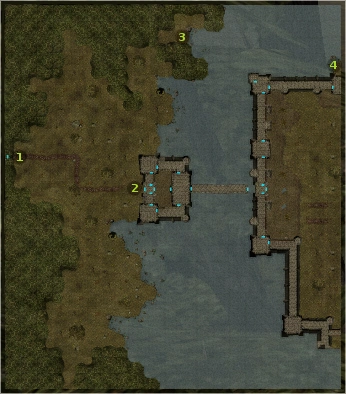
The lake is an expansive area. Follow the road east until you near the castle (#2). The Princess believes the castle was a gift to one of the King's generals, but it's fallen under Dhorn control now and you need to find a way inside. Entering through the front door would be suicide, so Vico suggests trying to find an alternate way in along the shore. Make your way north east until you find an old rowboat (#3). The boat itself is unusable, but it's possible to swim across the moat to the castle. Since you're the only one who knows how to swim, it's your job to get across and try to find a way in for the rest of your party. Once across (#4), use the weeds to climb up the wall. You'll begin making some progress, but eventually slip and fall, leaving you unconscious. When you awake, you'll find yourself locked in a cell in the bowels of the Hunting Lodge, and missing all of your weapons.
The Hunting Lodge[]
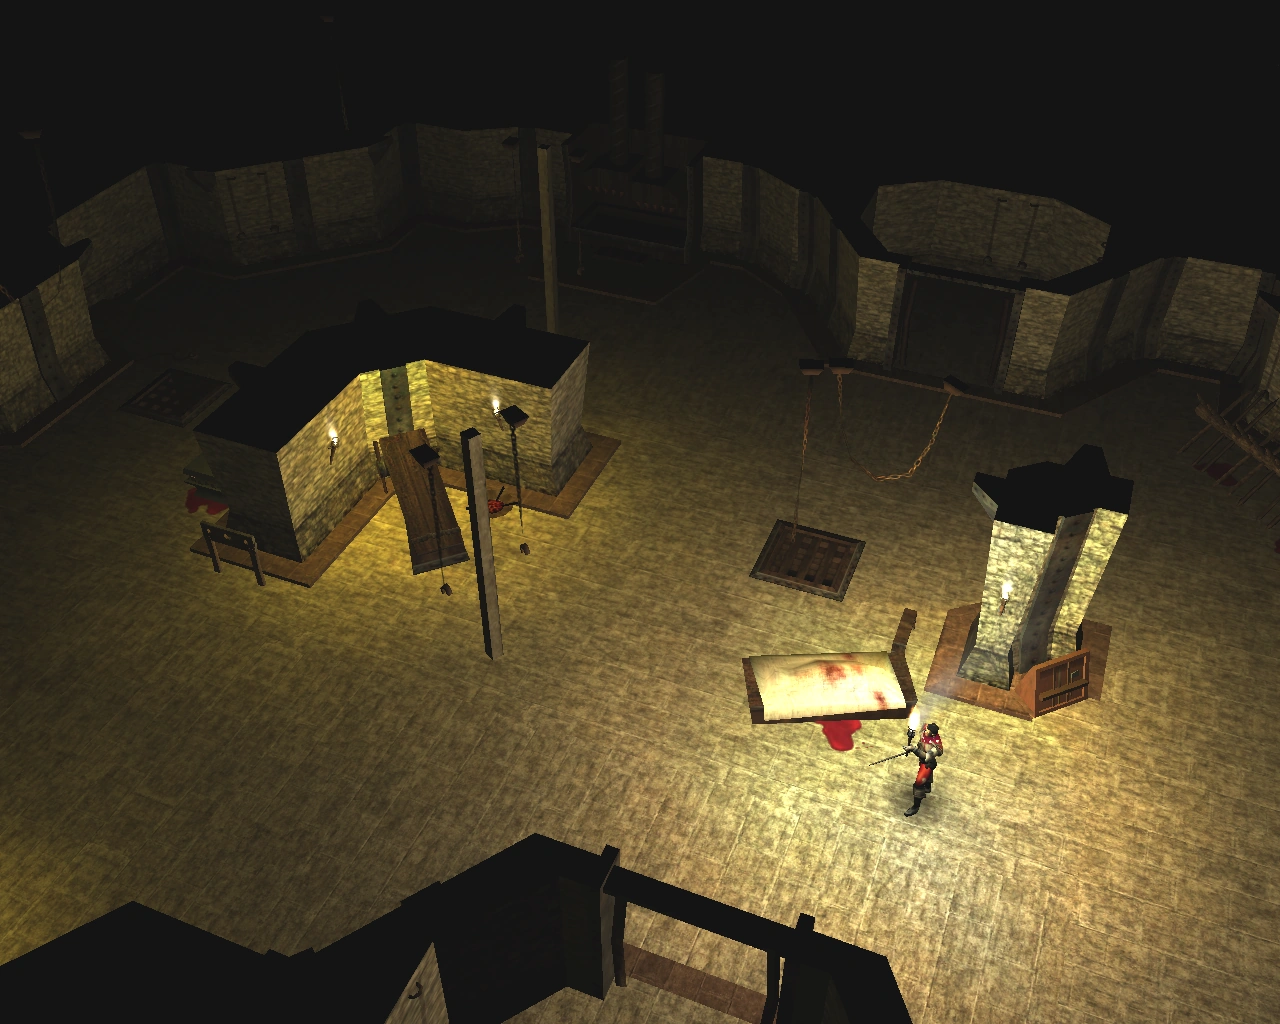
A guard patrolling the cells.
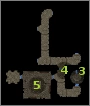
Once you've got your bearings back after the fall, you need to escape from the cells in the Hunting Lodge. Pick the lock on your cell door (#1) and exit the room. There's a staff in the neighboring cell if you're looking for a simple weapon, but you'll have all of your weapons back soon enough. Stealthily make your way through the small rooms and hallways, past the few Dhorn soldiers patrolling the area, until you reach the stairs up (#2) to the guards' quarters. Once you've reached the top of the stairs (#3), open the door to the hallway follow it north past the door on your left until you reach the door at the end of the hallway (#4). When you attempt to unlock it, you'll be surprised by a stealthy Dhorn named Alen Kley, who will take you to a meeting with Simon Lyonsen and Jero Fetton (#5). If you took part in the Dhorn Slayer quest, Simon and Jero's presence will no doubt be a surprise. Apparently you aren't the only one with access to resurrection spells.
Simon will make you an offer you cannot refuse: to assist in a burglary on a building in Betancuria. In return, he offers her information on Master Nathan's whereabouts and the promise to spare her life and her companions. Preparations will take a few hours, leaving you in a position to entertain Jero. You can refuse, leading to Simon ordering Jero to back off, or accept and play along. If you agree to pleasure Jero, Alen will eventually come over and expect some action as well. This may increase your skill in the Arts of Love. When it's all said and done, you'll be blindfolded and taken to Simon's cellar, and the Bank Raider quest will begin.
| This article is part of a collection for the walkthrough for Part One. The previous article is Pia is Missing. The next article is Bank Raider. |